Self-disassembly of the iPad Mini tablet. Subtleties of the process.
Any technology is short-lived, even the vaunted iPad Mini from Apple. No one says that it constantly breaks down, but user negligence or careless use periodically forces you to “open” the device in order to replace one or another module.
If you think that taking your tablet to a service center is stupid and decide to fix the device yourself, use our instructions.
Required Tool
How to disassemble an iPad? This is difficult to do without special tools. You will need:
- clock screwdriver (preferably 5-point);
- plastic card/mediator/stack;
- tweezers;
- patience.
Display
We pick up our iPad Mini and see that the back cover cannot be removed, and the bolts are nowhere to be seen. Let's start with the fact that glue is used in the design. To do this, take a hairdryer and begin to gently “blow” over the entire front area of the screen.
As soon as you feel that the display has begun to “fidget”, carefully pry up the frame with a pick/card, as in the screenshot.
Slowly draw the tip of the card around the perimeter of the front. If you run into something, don’t pull.
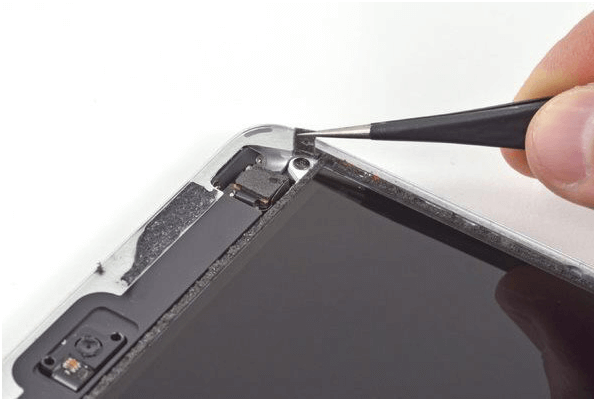
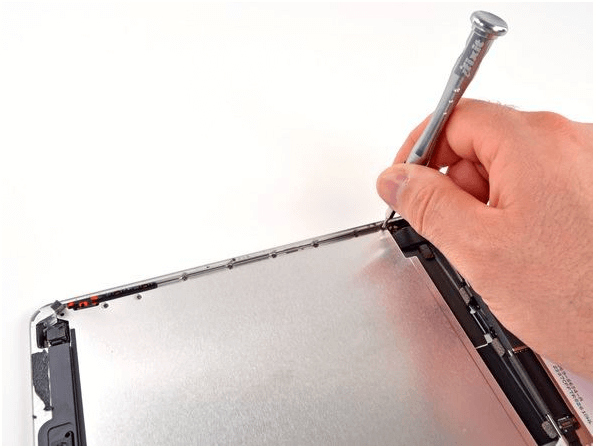
Once the frame of the iPad Mini is removed, we proceed to removing the display itself. It is held on by 16 screws hidden by plugs like this one.
If the piece of metal is finally defeated, you can congratulate yourself. Now the disassembly process will happen much faster.
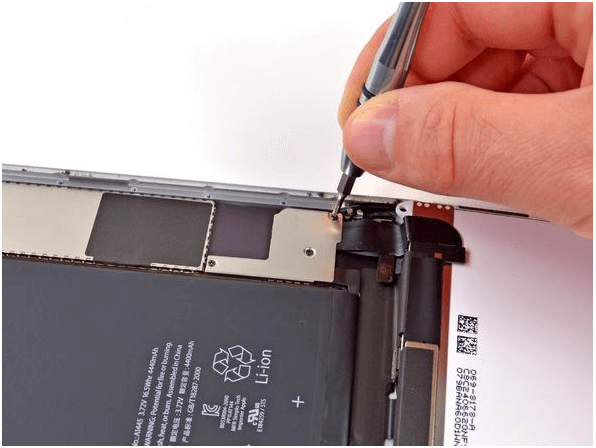
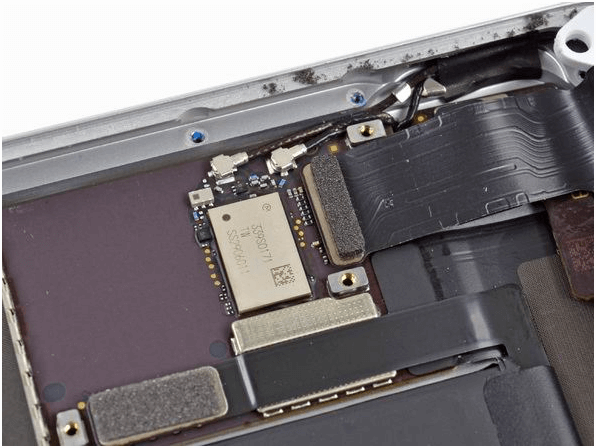
Not only the sensor cable is “hidden” under the sheet of metal, but also part of the iPad Mini motherboard, as well as a Wi-Fi module with a set of letters in the name.
Carefully unscrew all the bolts around the perimeter, being careful. Mobile contacts are quite fragile.
We get to the treasured display cable, which is pryed off with the same pick or stack.
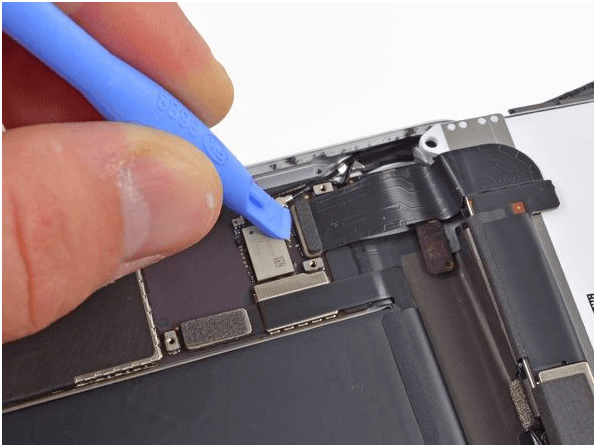
But the cunning Cupertino residents prepared another “trap” in the form of a couple of pieces of electrical tape. Carefully peel them off using tweezers. Now you can put the iPad Mini screen aside with a clear conscience.
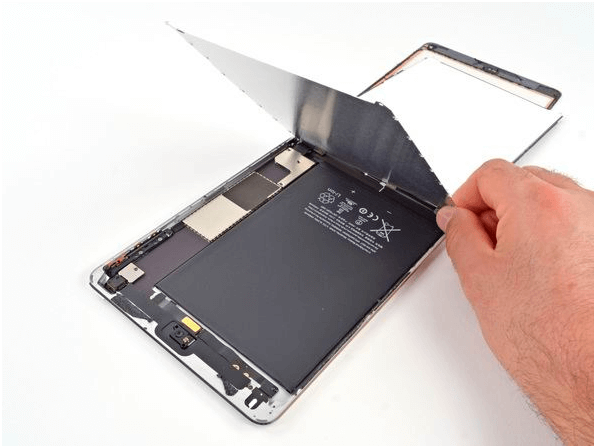
Battery
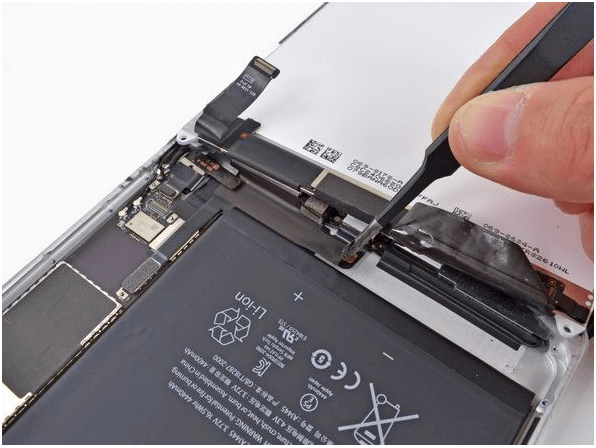
We get to the battery, which is attached to the same adhesive tape. The peeling procedure is similar to manipulating the screen. Don't forget to disconnect the cable with the contact.

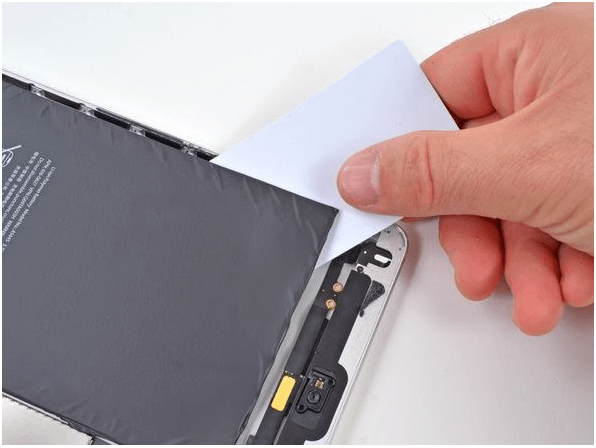
The battery is pryed around the perimeter with a plastic card and then removed.
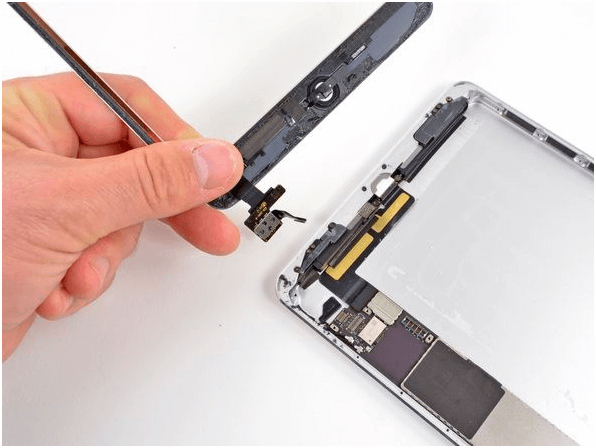
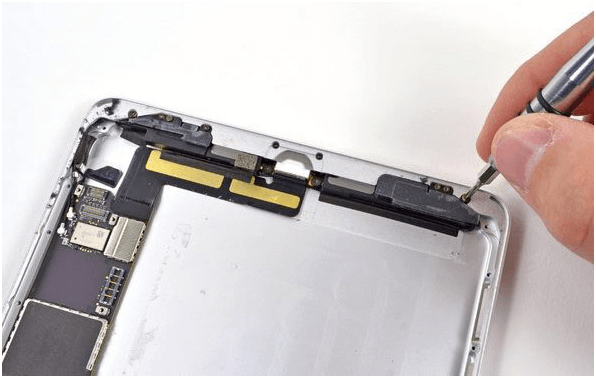
Modules
So, let's get to the key components. At the bottom there are Wi-Fi and Bluetooth antennas attached near the speakers.
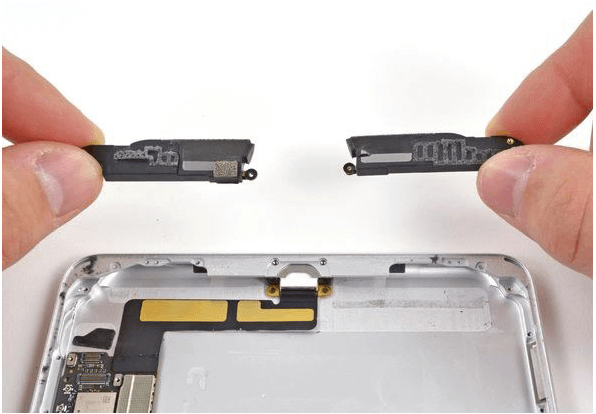
The touch panel is also located there.
You won't be able to remove the Lightning connector separately - it's part of the motherboard.
Do not damage this connector! Otherwise, it will have to be changed along with the board!
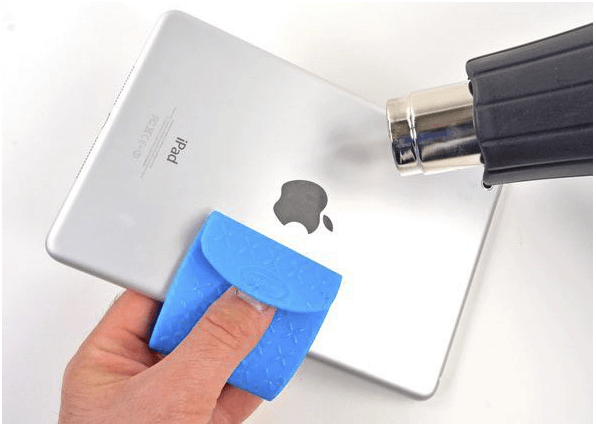
Motherboard
Only “mother” remained. First remove all the bolts and re-arm yourself with a hairdryer. Without it, it is impossible to remove the board. Carefully but gently warm up the rear cover until the coveted motherboard comes off.
Great! Now you know how to disassemble an iPad.