How to disassemble the Apple iPod Nano 6th generation 2011 player
We disassemble the iPod Nano 76th generation player. It has the model number A1366 and comes in 8GB or 16GB capacity options.
This guide is a translation of the article: http://www.ifixit.com/Teardown/iPod-Nano-7th-Generation-Teardown/6554/1.
Warning
This article is not a guide to action! All responsibility for collecting and disassembling your device lies with you.
Many manufacturers do not bear warranty obligations if the device has been disassembled by the user. If you do not want to lose the warranty for your device, check the terms of the warranty in the documentation or with the device manufacturer.
Tools used
Fun fact: the new 2011 Nano is NOT cooler than the old Nano. In fact, it's almost exactly the same. Read on and you will find out why.
Our favorite nanoscopic apple slice is back, loaded with interesting features.
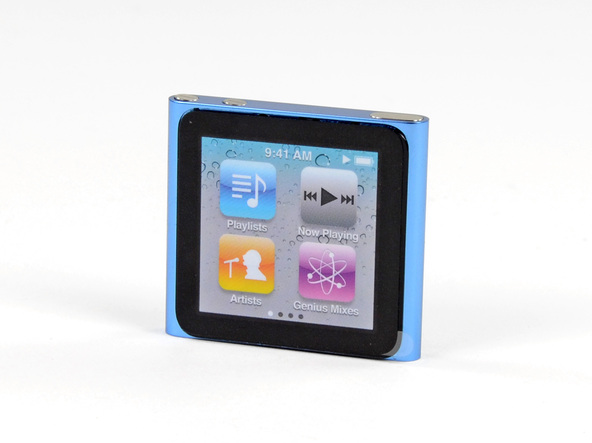
- 1.54" multi-touch display
- Display resolution 240 x 240 pixels.
- Built-in accelerometer
- Nike+ sports program support
- Rechargeable lithium-ion battery for up to 24 hours of music playback
- Built-in memory module with a capacity of 8 or 16 GB
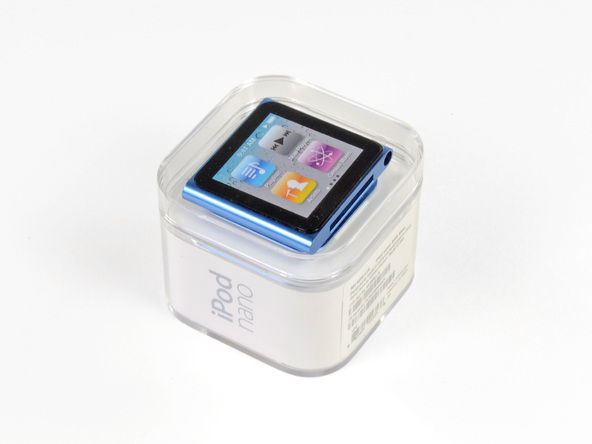
Not much has changed in terms of packaging. The Nano is still encased in a pretentious plastic cube.
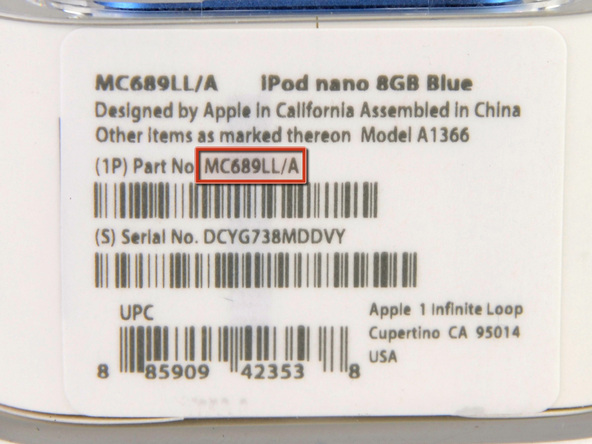
Just looking at the model number, we notice that it is the same as its predecessor – A1366.
We were able to find out that the differences in part numbers only concern the color of the product. This one, MC689, is blue; and MC688 is silver...
Like Siamese twins, the 6th and 7th generation players are similar in appearance, but different in character.
Can you guess which one is which? Hint: Nano 7th generation is not red...

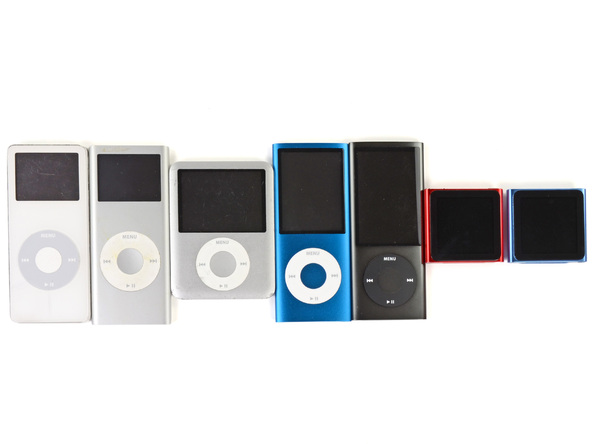
Hooray! The iPod Nano family is reunited (from left):
- Nano 1st generation
- Nano 2nd generation
- Nano 3rd generation
- Nano 4th generation
- Nano 5th generation
- Nano 6th generation
- Nano 7th generation
No screws? Do not be afraid! *fanfare sound* Our trusty hairdryer is here to save us!
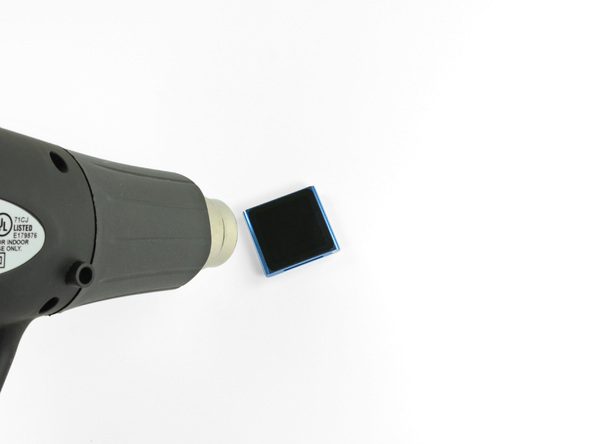
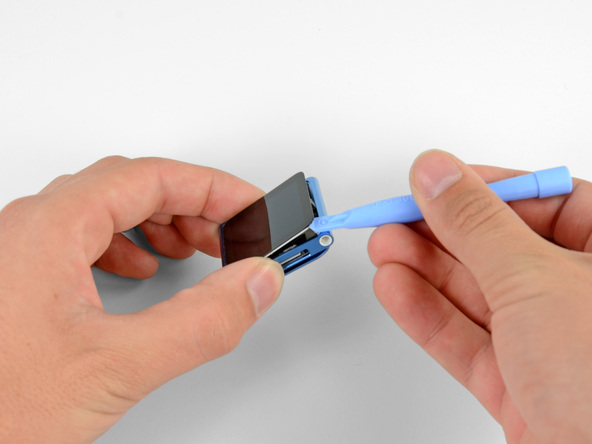
PSHSH! Here's to you, the villainous front glass! Get it! Your days of providing high quality entertainment to the people of planet Earth are numbered! Surrender immediately, or you will be amazed by our assistant - the Plastic Case Breaker Tool!
Screws? Ha! Were you thinking of taking us by surprise?
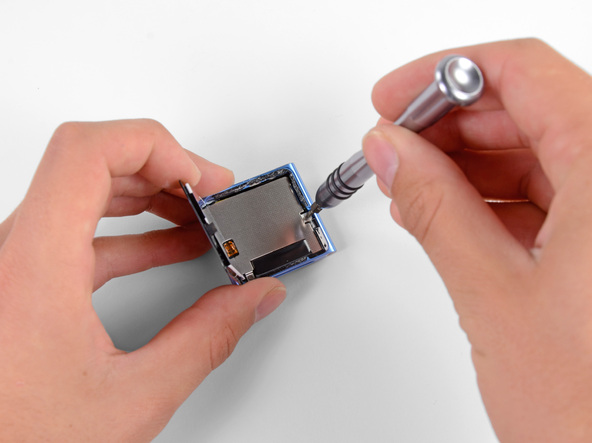
Think hard, 7th generation Nano...feel the power of our Phillips screwdriver bit!
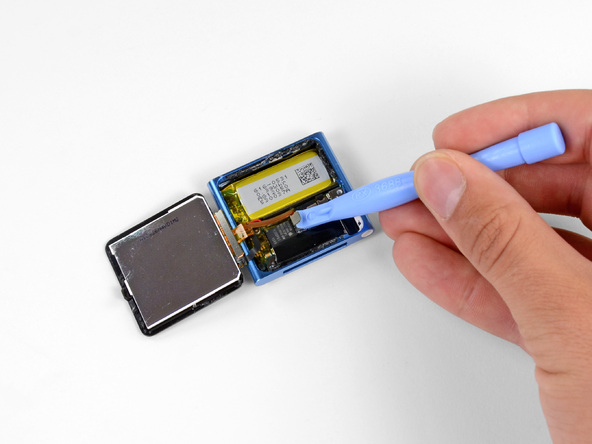
The electromagnetic shield protecting the Nano motherboard is easily removable.
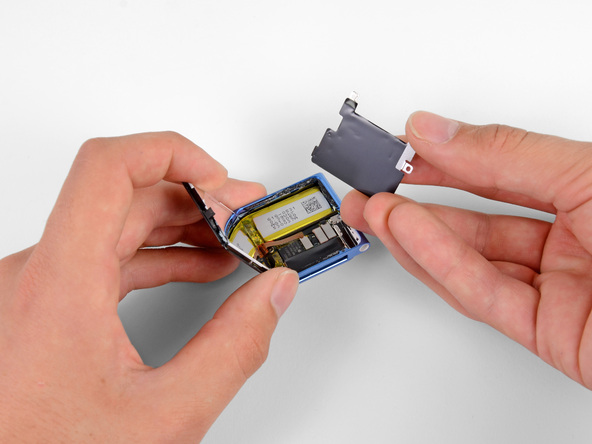
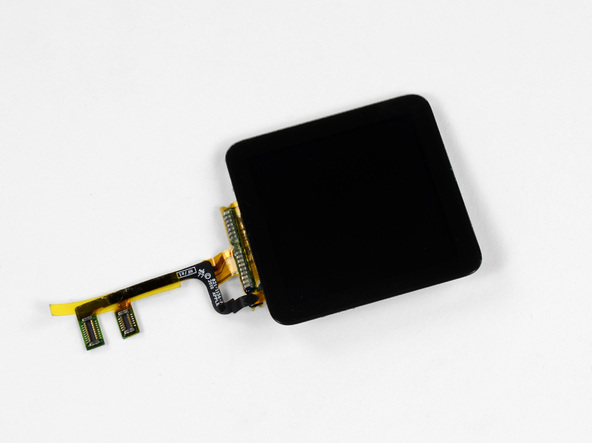
To remove the display, you first need to unclip a few connectors.
This is your last day, oh dear Nano display! (At least until we install you back. We'll be careful, we promise.)
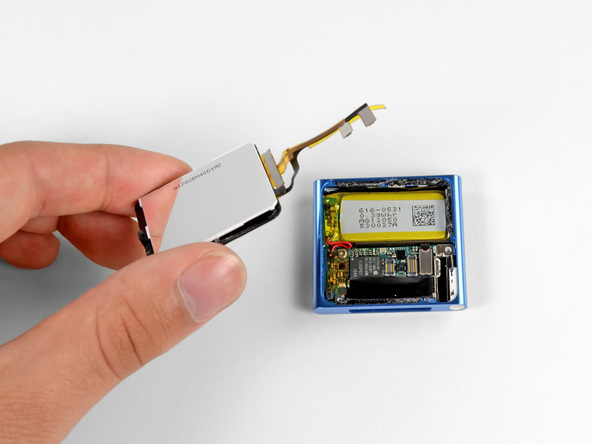
So, we've removed the display and can rotate it and look at it from different angles.
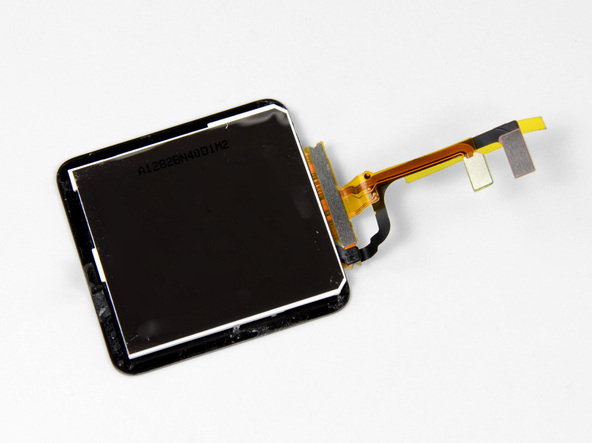
Like last year's model, the 1.54-inch display comes with multi-touch functionality, and we're still perplexed by what you can do with this device with two fingers.
The display resolution remains the same - 240 x 240 pixels, and it is also inseparably attached to the front glass.
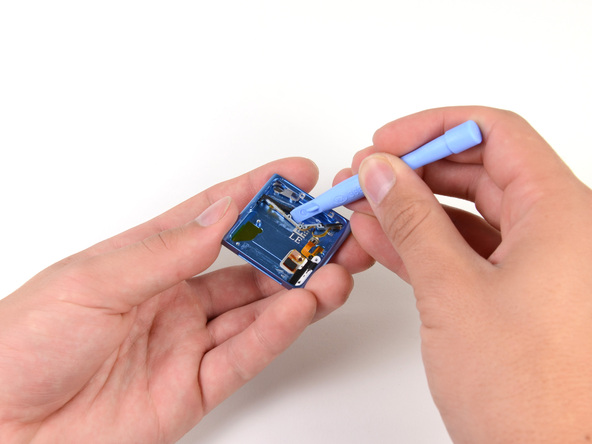
Several screws and a connector are trying to block our path.
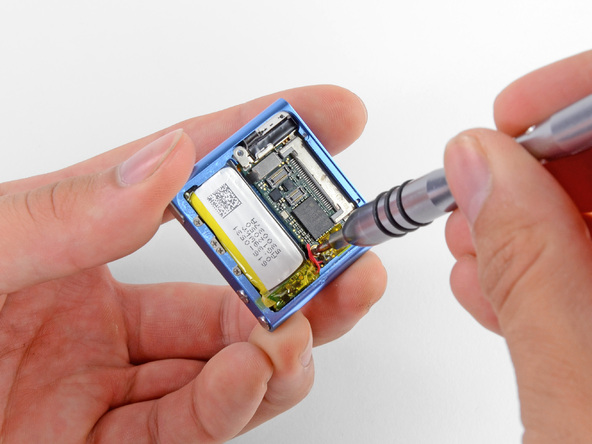
Ha! Ali, have you heard the battle cry of the damned 54-Bit Torque Screwdriver and Plastic Case Disassembling Tools?
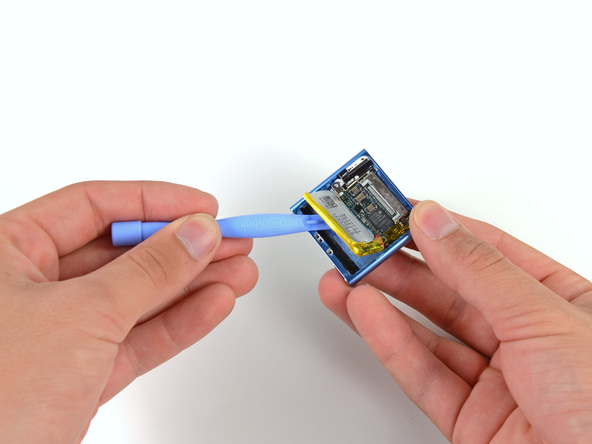
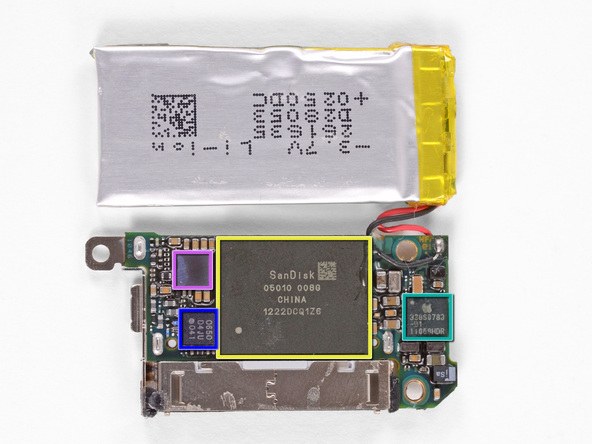
After shaking it a little, we remove the battery and the motherboard, which are soldered to each other.
Main integrated circuits:
- Apple 339S0104 YGC7 1046 K4X51323PI YRJ180A2 ARM N3ODPQ1 1049 (circled in red)
- 337S39071031 A04 640102 (circled in orange)
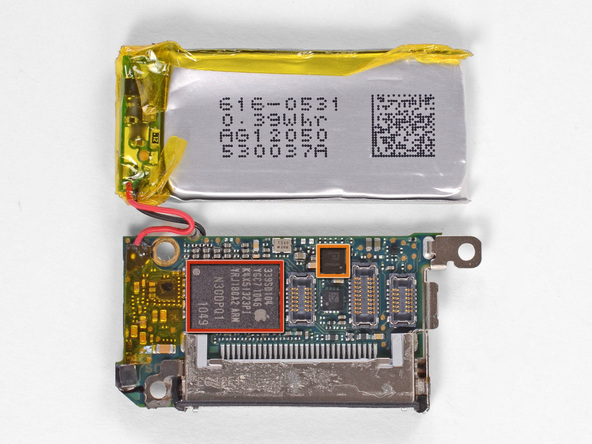
- SanDisk 05010 008G 1222DCQ1Z6 (circled in yellow). And the previous Nano used a Toshiba memory chip.
- Apple 338S0783-B1 11068HDR (circled in turquoise)
- 0650 D4JU 041 (circled in blue)
- Apple 339S0853 C0YV1042 TWN (circled in pink)
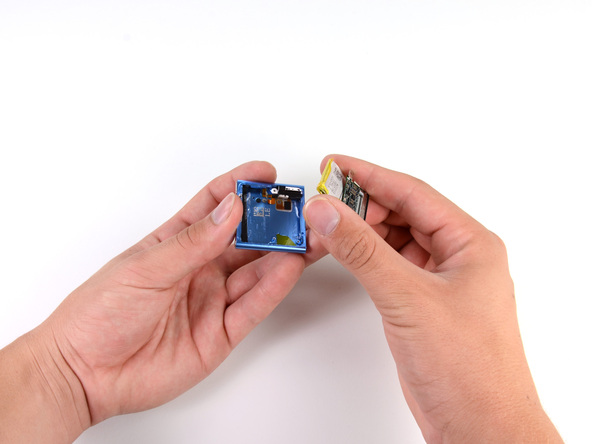
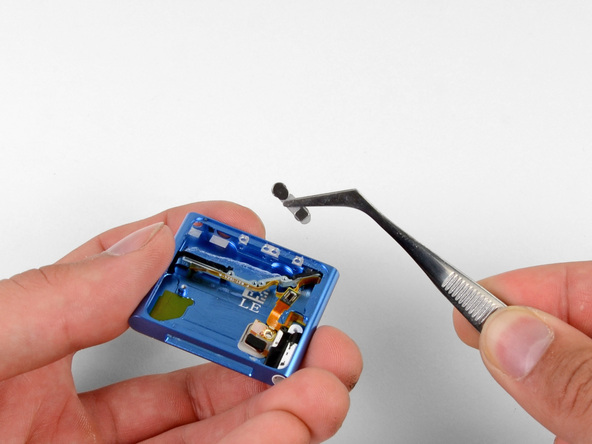
We unscrew a few more screws and remove the clamp from the player body.
Yes, little Nano, now try to cling to our pockets, belts and pants!
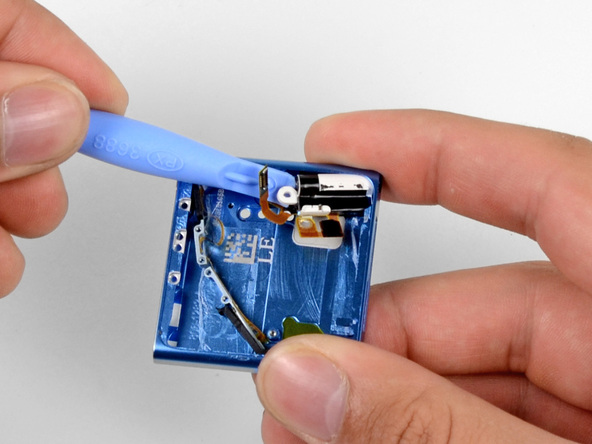
We are trying to pry and remove the headphone jack cable module from the inside of the case. Unfortunately, the glue is in the way - it looks like a whole bottle of it was poured out here.
When we finally removed it, you can unfasten the volume buttons.
No more glue and our plastic tools did the best they could.
When we finally unfastened the cable, we can take a good look at it.
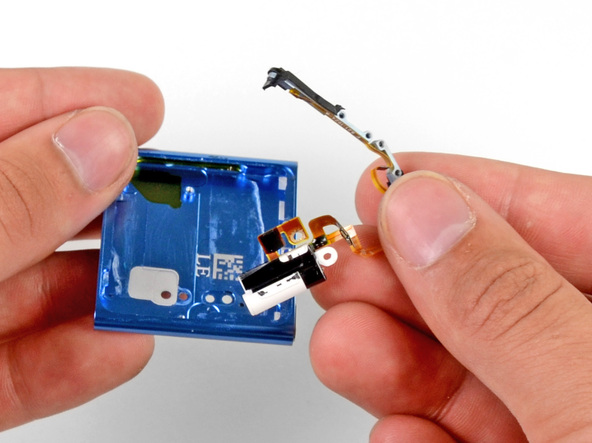
All 3 button sensors (sleep mode, volume up and down) are connected to the headphone jack cable. So it will be difficult to replace individual components.
Ease of repairing the Apple iPod Nano 7th generation player: 5 out of 10(10 points means maximum simplicity).
Pros:
- Once the display is removed, the rest of the device is relatively easy to disassemble.
- Cable connectors allow you to easily disconnect the display and headphone jack from the connector on the motherboard.
But: The headphone jack and volume buttons are attached to the same cable and must be replaced at the same time.
Minuses:
- To remove the player's display, it must be heated with a hairdryer, since it is held in place by a large amount of glue.
- The battery is soldered to the motherboard, making it much more difficult to replace individual components